XML File Configuration
The XML files, similar to CSV and XLSX files, require additional configuration after uploading to the project so the system could import the content of these files.
To configure XML files, follow these steps:
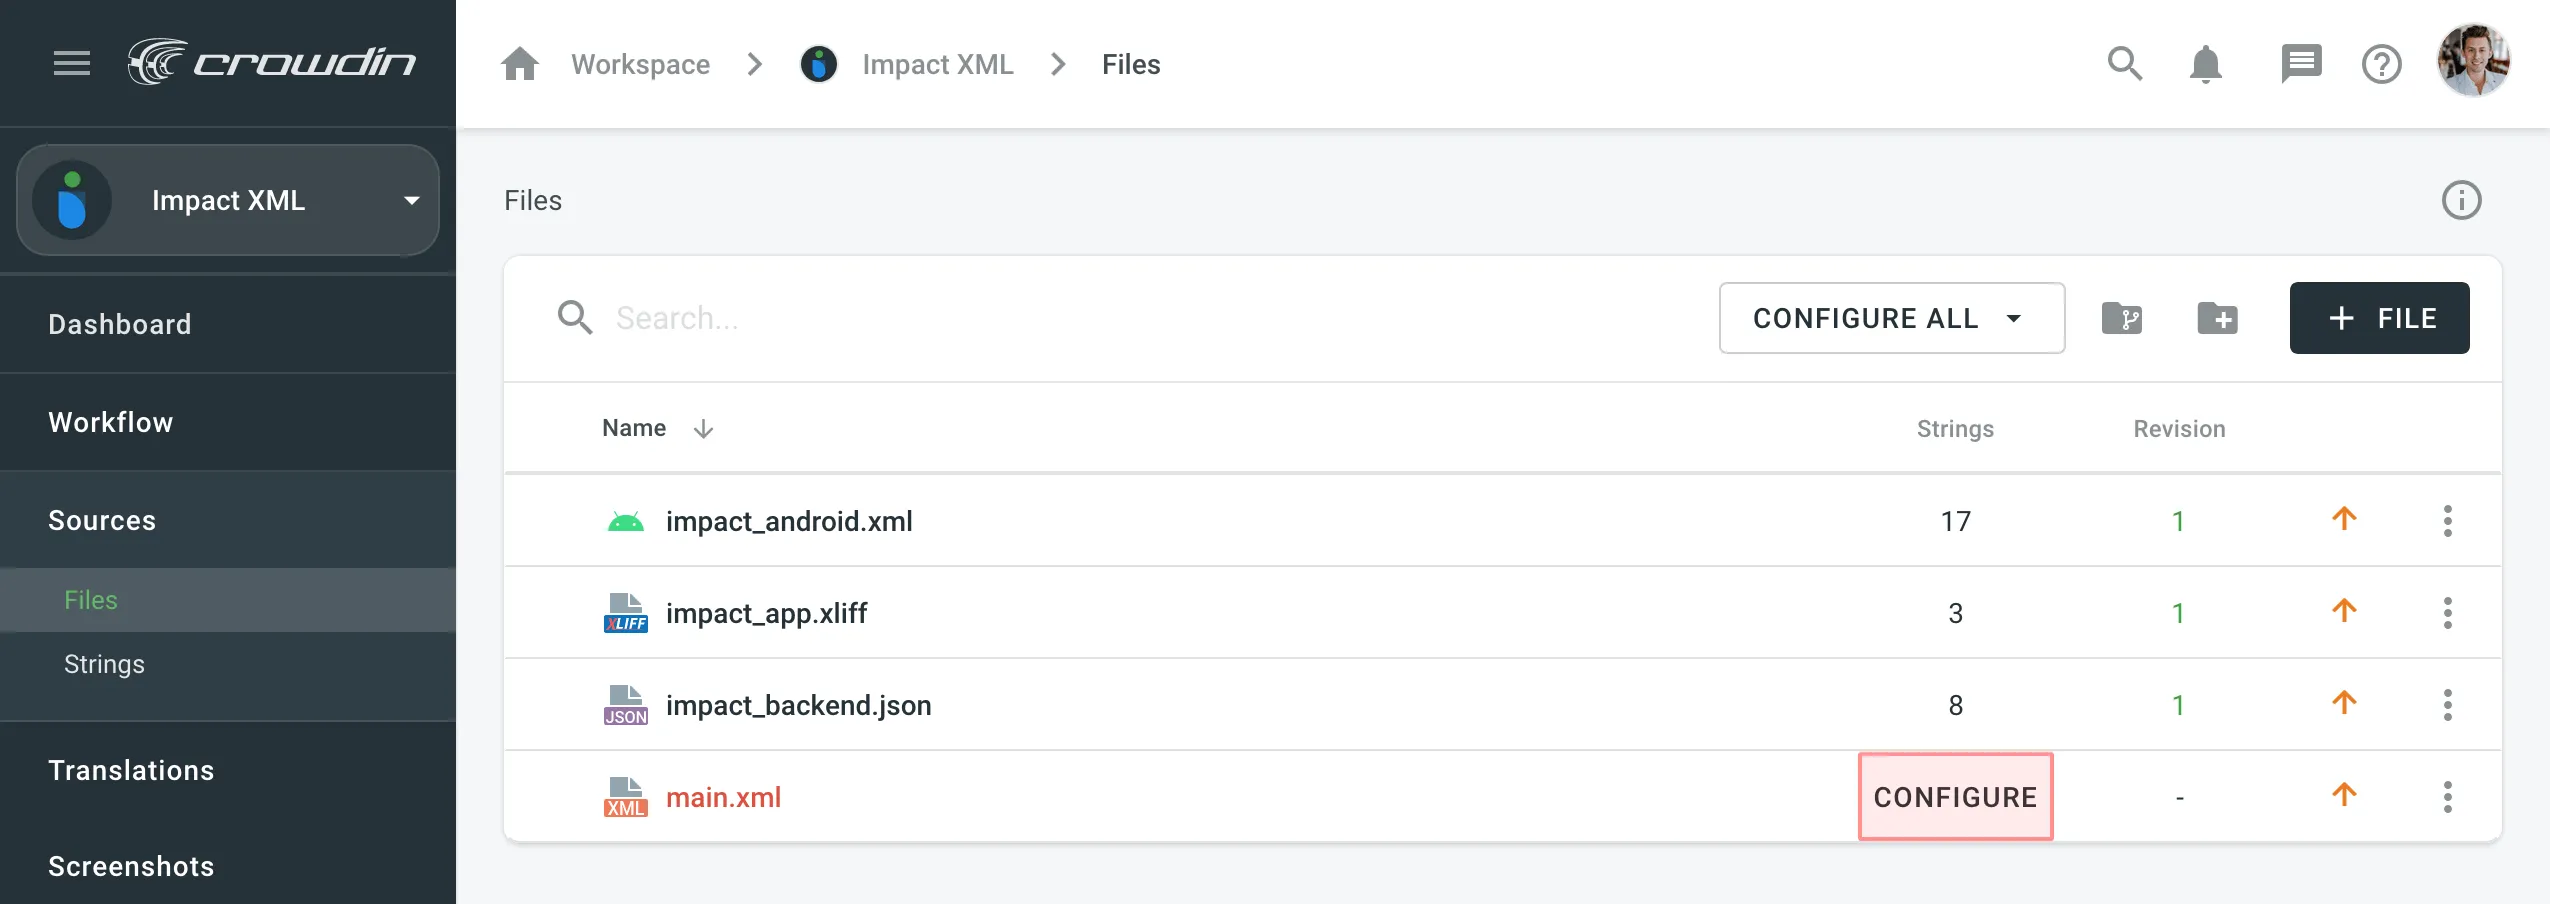
- Open your project and go to Sources > Files.
- Click Configure next to the file to open the configuration window.
- Select which content should be translated and click Save & Import to proceed.

Configuration Options
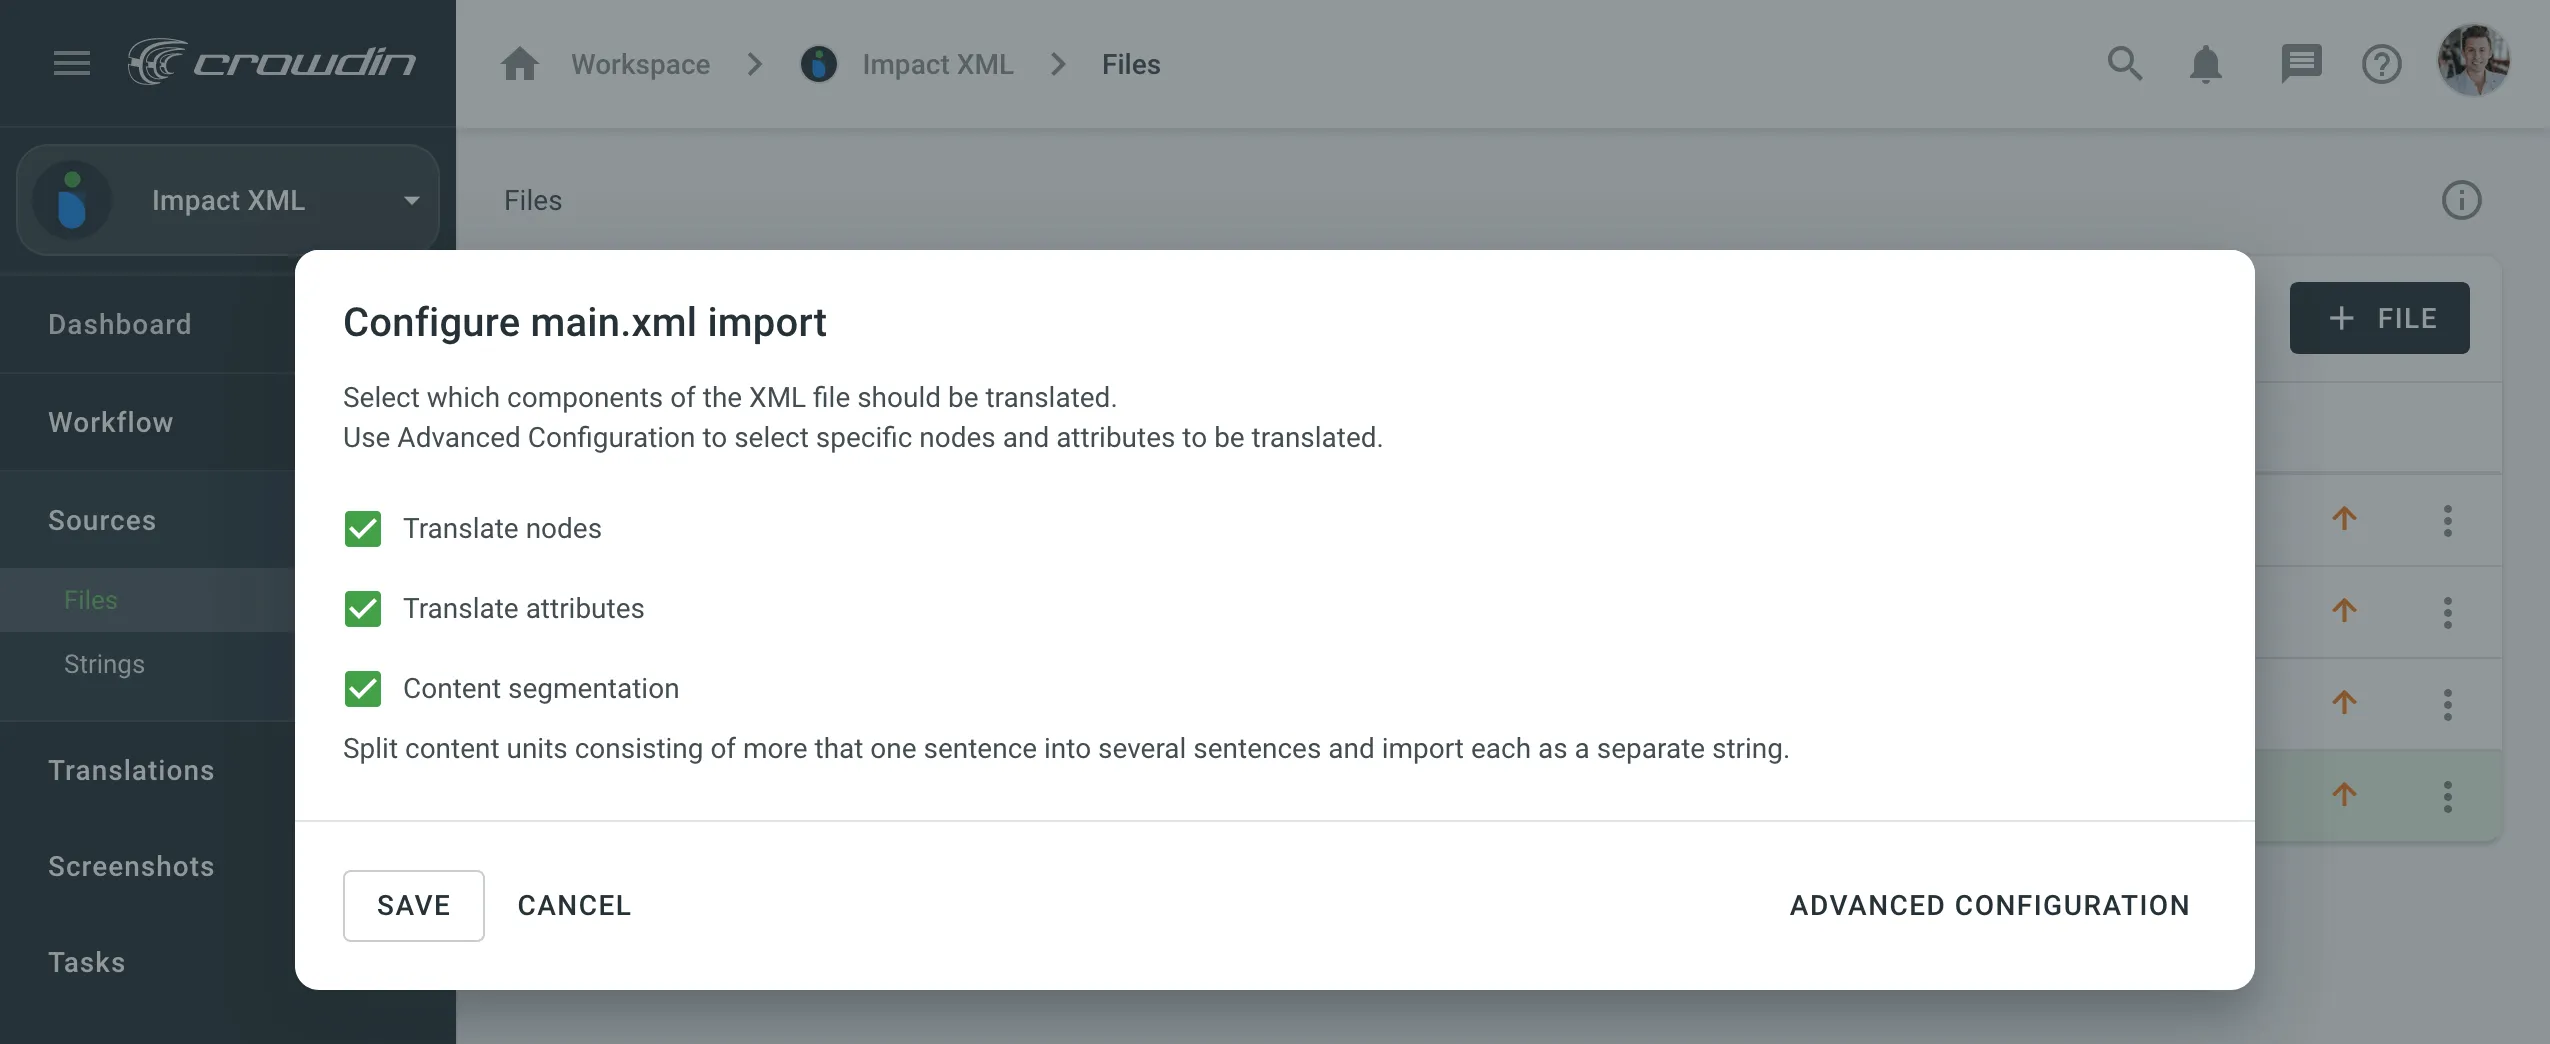
When configuring XML files, you’ll have the following options: Basic Configuration and Advanced Configuration. Additionally, you can use the Content Segmentation, which is available for both configuration options.
Basic Configuration
Basic Configuration allows you to select all nodes and/or all attributes to be available for translation.

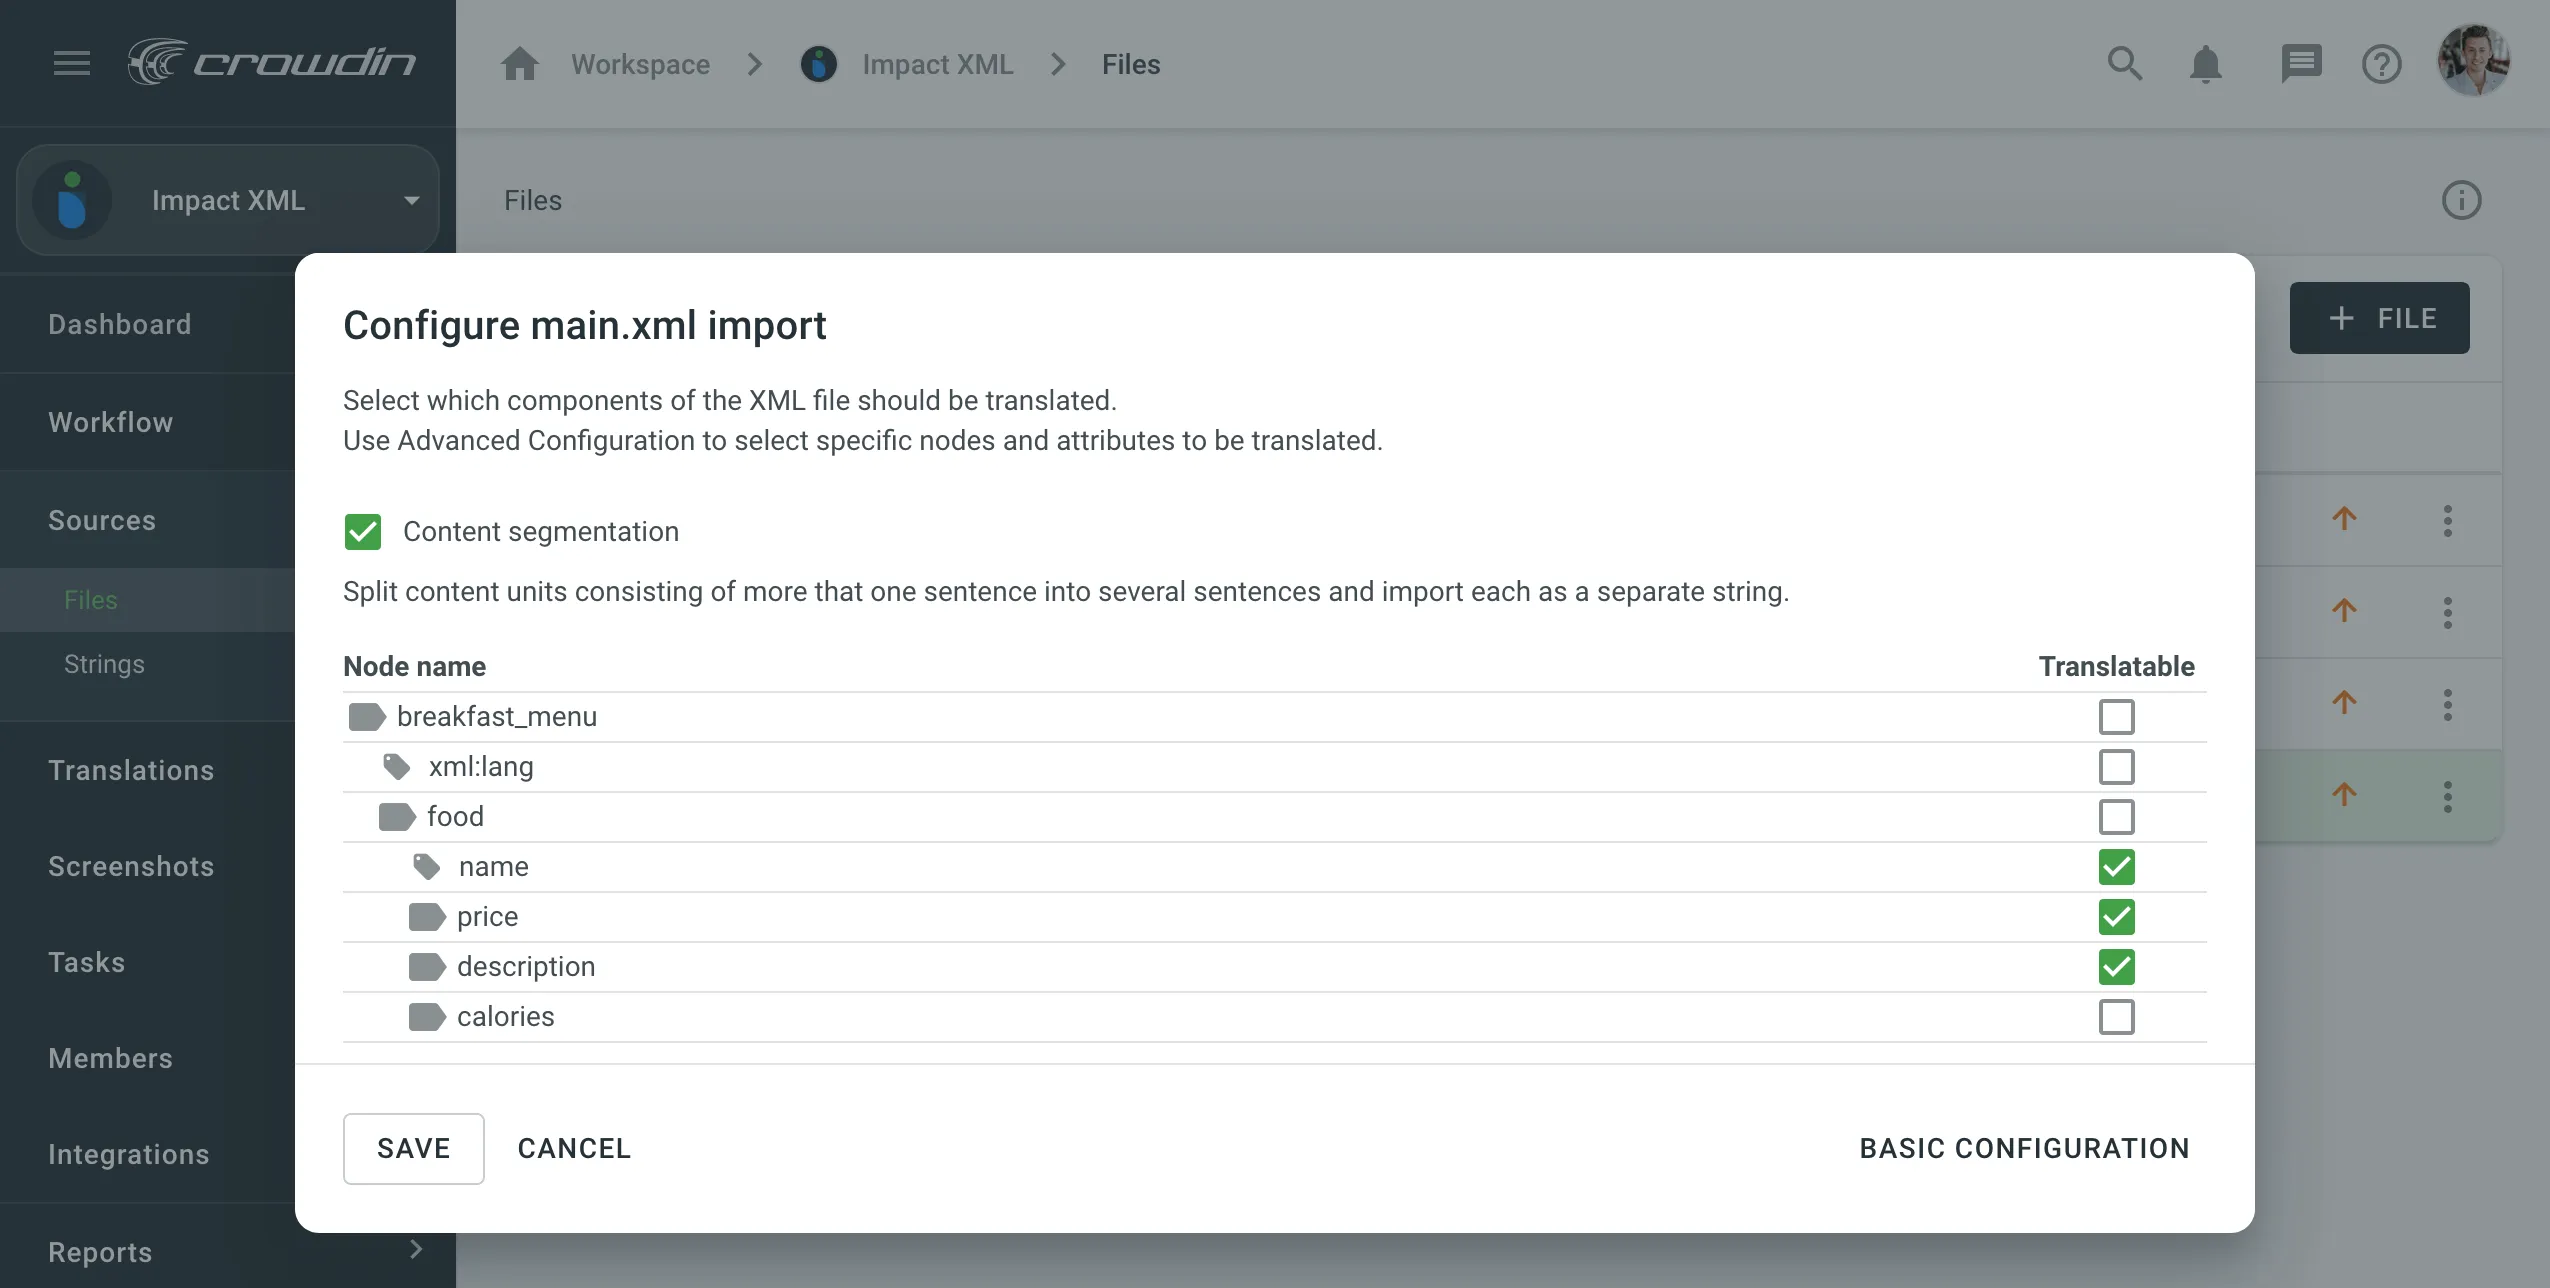
Advanced Configuration
Advanced Configuration allows you to select the specific nodes and specific attributes to be available for translation.

The file structure is depicted with the help of icons:
- – Node
- – Attribute
Configure All XML Files at the Same Time
To configure all XML files at once, click Configure All at the top of the Files page.
When using Configure All, ensure that all XML files contain the same structural elements. Otherwise, some nodes that require translation might be unavailable during configuration and won’t be imported into the project. In this case, it would be necessary to configure each XML file separately.
In the configuration window, you’ll be able to switch between the selected files to preview and verify if the applied configuration is correct for all files.
Content Segmentation
You can use Content Segmentation to split the source file’s content into shorter text pieces, mostly sentences and short paragraphs. This is helpful when translating content units consisting of several sentences because it will be easier to translate smaller pieces of text. Segmentation Rules eXchange (SRX) are used for automatic content segmentation.
Read more about Custom segmentation.